
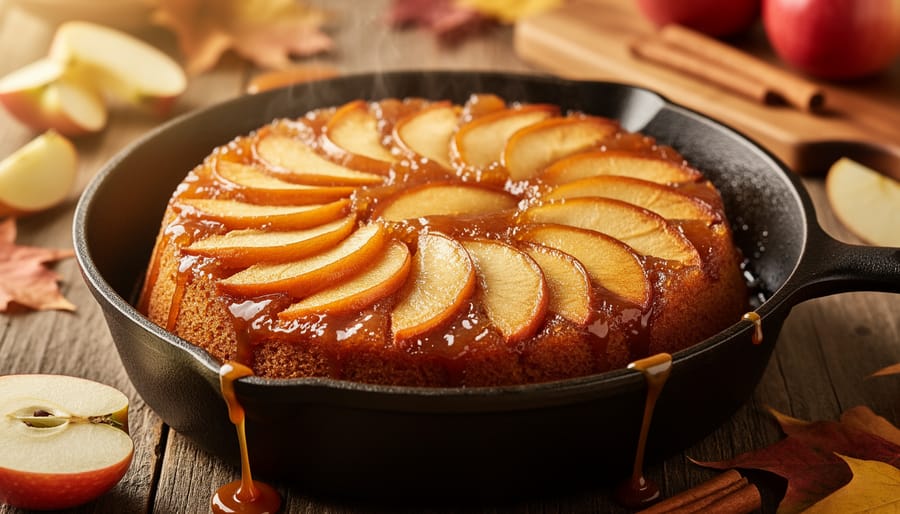
Upside-down apple cake delivers caramelized fruit and tender crumb in about 90 minutes, requiring just one bowl, a skillet, and basic pantry staples. You’ll melt butter and sugar in an oven-safe pan, arrange sliced apples in a sunburst pattern, then pour a simple batter over top before baking. When you flip it, the apples become a glossy, amber topping that looks bakery-perfect but comes together easier than traditional layer cakes.
October’s cooler weather makes this the ideal season to bake with apples in Toronto, and you’ll find stellar local varieties at St. Lawrence Market or your neighborhood farmers market through early November. Honey Crisp, Northern Spy, and Mutsu apples hold their shape beautifully during baking while delivering that tart-sweet balance that keeps each bite interesting. The recipe works year-round, but there’s something about pulling a bubbling, caramel-scented cake from the oven when the leaves are turning that feels exactly right.
This technique originated in France as tarte Tatin, but the North American cake version swaps pastry for a butter-rich batter that soaks up those apple juices as it bakes. The flip is the showstopper moment, but don’t worry if a few apple slices stick. A quick rearrangement with a spatula, and no one will ever know.
What You’ll Need to Bake This Beauty
Let’s gather everything before we dive in. This cake comes together with ingredients you probably have on hand, plus a few fresh apples and the right pan to make magic happen.
For the Caramel Apple Topping:
- 1/2 cup unsalted butter
- 3/4 cup packed brown sugar
- 3-4 medium apples (about 1.5 pounds), peeled, cored, and sliced into 1/4-inch rounds
For the Cake Batter:
- 1 1/2 cups all-purpose flour
- 1 1/2 teaspoons baking powder
- 1/2 teaspoon salt
- 1/2 teaspoon cinnamon (optional but recommended)
- 1/2 cup unsalted butter, softened
- 3/4 cup granulated sugar
- 2 large eggs, room temperature
- 1 teaspoon vanilla extract
- 1/2 cup whole milk, room temperature
Essential Equipment:
- 9-inch or 10-inch cast-iron skillet or oven-safe cake pan
- Mixing bowls (medium and large)
- Whisk and wooden spoon or rubber spatula
- Measuring cups and spoons
- Serving plate larger than your pan
The apple choice matters here. Granny Smith apples hold their shape beautifully and offer that tart contrast to sweet caramel, while Honeycrisp or Gala bring more sweetness and soften nicely. Mixing two varieties gives you the best of both worlds. Toronto readers can grab gorgeous local apples from St. Lawrence Market vendors during fall, or check out The Sweet Potato for quality produce year-round. Fiesta Farms on Christie also stocks excellent baking apples.
Room temperature eggs and milk aren’t fussy baker talk, they actually blend smoother into your batter, creating better texture. Just set them on the counter while you prep everything else.
Before You Start: Tips for Success
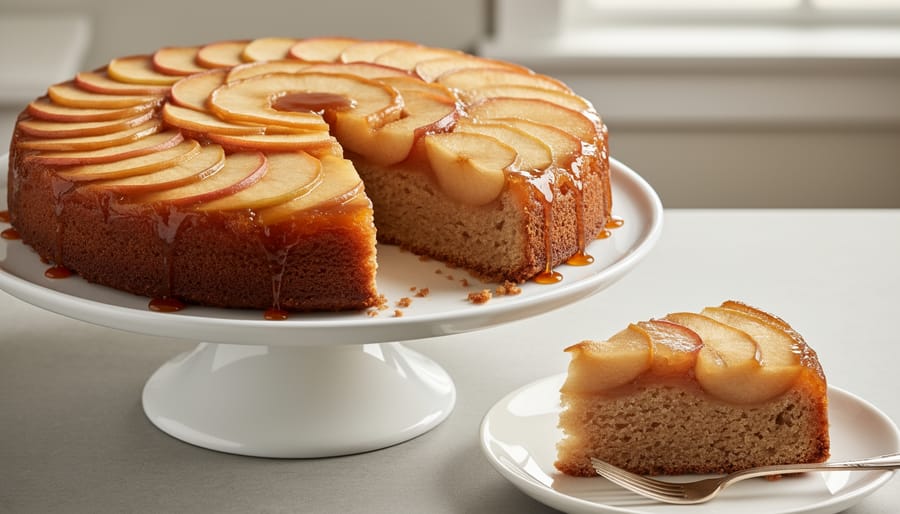
Before you dive in, a few smart moves will save you headaches later. First, read through the entire recipe before you start, seriously, it makes a difference. Get your ingredients to room temperature (especially eggs and butter) about 30 minutes before mixing; cold ingredients can seize up your batter and give you a dense cake instead of a fluffy one. Make sure your pan is properly greased and consider lining the bottom with parchment paper for insurance against sticking, nothing’s worse than a gorgeous cake glued to the pan.
Timing matters more than you might think, especially the cooling period. Rushing the flip while the cake’s still piping hot is a recipe for disaster, your caramel won’t have set enough and the whole thing can slide apart. Give it at least 10-15 minutes to cool slightly but not completely; you want it warm enough that the caramel releases but firm enough to hold together. Apply the same kitchen timing tips you’d use for any baking project. Finally, resist the urge to peek too often while it’s baking, opening the oven door drops the temperature and can mess with your rise.
Step-by-Step: Building Your Upside-Down Apple Cake
Making the Caramel Apple Topping
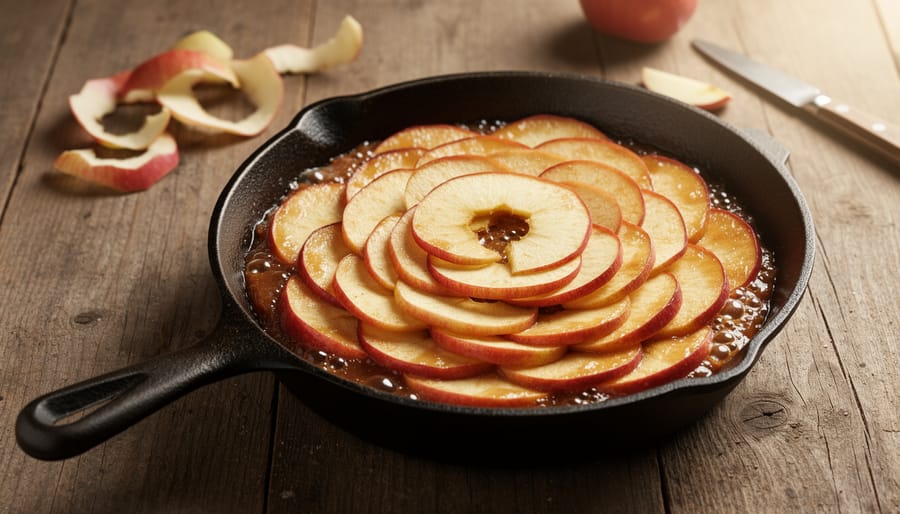
Start by melting butter in your skillet over medium heat until it’s fully liquefied and just beginning to foam. Sprinkle brown sugar evenly across the bottom, don’t worry about stirring yet. Let the sugar dissolve into the butter for about two minutes, watching as the mixture begins to bubble and turn glossy. You’re looking for a smooth, cohesive caramel that coats the pan bottom, not a grainy mess.
Once the caramel reaches a deep amber color and smells toasty but not burnt, remove the pan from heat immediately. The difference between perfect caramel and scorched bitterness happens fast, so stay close. If you smell anything acrid or see dark spots forming, you’ve gone too far, start over rather than pushing through.
Now arrange your apple slices in a single layer, working from the outside in. Place them flat, overlapping slightly if needed, creating a pattern that’ll look gorgeous when flipped. Tuck slices into any gaps. This visual arrangement becomes your cake’s crown, so take an extra minute to make it look deliberate.
The apples will release moisture as they sit, thinning the caramel slightly. That’s normal. What you’re building here is the foundation of flavor, that sticky, buttery-sweet layer that soaks into the cake as it bakes and creates the signature gooey top. Get this part right, and the rest practically takes care of itself.
Mixing the Cake Batter
With your apples beautifully arranged and waiting, it’s time to whip up the cake batter. This part’s delightfully straightforward, no mixers required if you don’t want to use one.
In a medium bowl, whisk together your dry ingredients: flour, baking powder, salt, and a touch of cinnamon if you’re feeling it. Set that aside. In a larger bowl, cream the softened butter and sugar together until they’re light and fluffy, this takes about two minutes with a wooden spoon or hand mixer. Beat in your eggs one at a time, then stir in the vanilla.
Here’s where patience pays off: alternate adding the dry ingredients and milk to your butter mixture, starting and ending with the flour. Mix gently after each addition, just until everything disappears into the batter. You’ll know you’re done when you can’t see any flour streaks, but the batter still looks a bit lumpy, that’s perfect. Overmixing develops gluten and gives you a tough, dense cake instead of the tender crumb you’re after.
The batter should be thick enough to coat the back of your spoon but still pour smoothly over those apples.
Baking and The Grand Flip
Slide your cake into a preheated 350°F oven and set a timer for 40 minutes. This is your baseline, most upside-down apple cakes need between 40 and 50 minutes depending on your pan and oven quirks. The top should turn golden brown, and the edges will start pulling away from the sides of the pan slightly when it’s close.
Around the 40-minute mark, grab a toothpick or cake tester and poke it into the center of the cake, avoiding the apples themselves (you want to test the cake, not the fruit). If it comes out clean or with just a few moist crumbs clinging to it, you’re ready for the next step. If you see wet batter, give it another 5 minutes and test again.
Here’s where patience becomes your best friend: let the cake cool in the pan for exactly 10 to 15 minutes. Not longer, not shorter. Too soon and the caramel stays liquid, creating a sticky mess when you flip. Too long and the caramel hardens into cement, gluing your beautiful apples to the pan forever. Those 10 minutes let everything set just enough to release cleanly.
Now for the flip. Run a thin knife around the edge of the pan to loosen any stuck spots. Place your serving plate upside-down over the pan. Take a breath, hold both firmly together, and flip the whole thing in one confident motion. Set it down, wait five seconds, then lift the pan straight up. If a few apple slices stick, just nudge them back into place with a spatula, no one will know. The glistening caramel and perfectly arranged apples will steal the show every time.
How to Tell When It’s Perfect
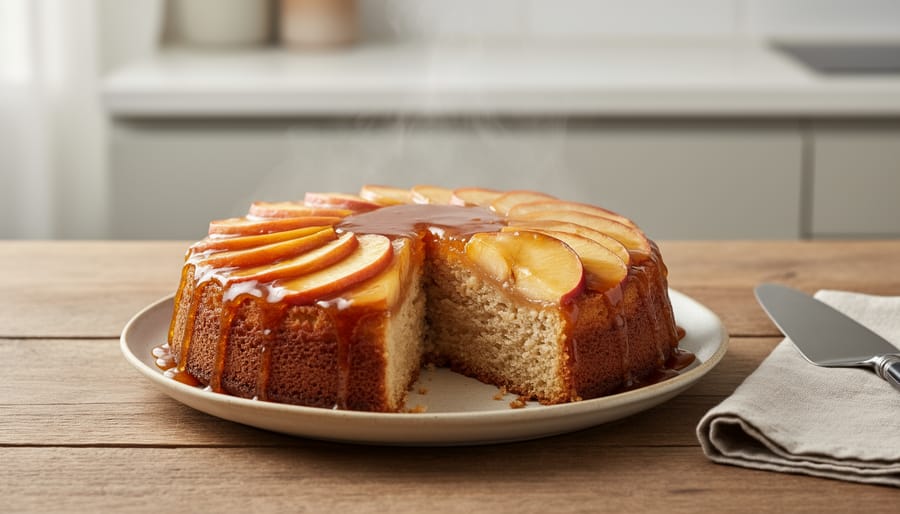
Knowing when your upside-down apple cake is properly baked makes all the difference between a show-stopping dessert and a sticky mess. Start with the toothpick test: insert a wooden skewer or toothpick into the center of the cake, avoiding any apple pieces. It should come out clean or with just a few moist crumbs clinging to it. If you see wet batter, give it another five minutes and test again.
Visual cues tell you plenty too. The cake’s edges should pull slightly away from the sides of the pan, and the top (which will become the bottom after flipping) should be golden brown and spring back lightly when touched. The caramelized apples beneath will bubble around the edges, that’s exactly what you want to see.
Here’s where patience really counts: let the cake cool in the pan for 10 to 15 minutes before flipping. This cooling window is non-negotiable. Too soon and the caramel will run off like molten lava; too long and it’ll cement the apples to the pan. When you do flip it onto your serving plate, the apples should glisten with caramel, arranged in their beautiful pattern with no bare spots or stuck pieces.
If a few apple slices stick to the pan, don’t panic. Gently lift them with a spatula and press them back into their spots on the cake. A light brush of the warm pan juices over any dry areas makes everything look intentional. The ratio for baking matters throughout the process, but these final verification steps ensure your effort pays off with a perfectly caramelized, beautifully presented cake.
Serving Suggestions and What to Do Next
This cake tastes incredible warm, about 20 minutes after you flip it, the caramel is still gooey and the apples release their sweetness into every bite. But it’s almost as good at room temperature, when the flavors mellow and the texture firms up just enough to slice cleanly. Serve it straight from the pan with a scoop of vanilla ice cream melting into those caramelized grooves, or keep it simple with a dollop of lightly sweetened whipped cream. A strong cup of coffee on the side turns this into the kind of moment Toronto cafés built their reputations on.
This dessert fits perfectly into fall gatherings, think Thanksgiving potlucks, weekend dinner parties, or lazy Sunday brunches where you want something impressive without the fuss. It’s one of those Toronto comfort desserts that feels both homey and special, the kind of thing that makes people ask for seconds and the recipe.
Leftovers keep for three days covered at room temperature, or up to a week in the fridge. Reheat individual slices in the microwave for 15 seconds to bring back that just-baked warmth, or warm the whole cake in a 300°F oven for 10 minutes. If you’re thinking bigger and want to share this beyond your kitchen, you could even sell this recipe as part of a small baking side hustle, it’s that crowd-pleasing.
Your Upside-Down Apple Cake Questions, Answered
Can I use different types of apples?
Absolutely! While Granny Smiths hold their shape beautifully and offer a nice tart contrast, Honeycrisp, Braeburn, or even a mix of varieties work wonderfully. Just avoid super soft apples like Red Delicious that turn mushy when baked.
What if I don’t have a cast-iron skillet?
No problem, a 9-inch round cake pan works perfectly. Just make sure it’s deep enough (at least 2 inches) and line the bottom with parchment paper for easier release. You’ll make the caramel in a separate saucepan and pour it into the prepared pan.
Can I make this cake ahead of time?
You can bake it a day ahead and store it covered at room temperature. The flavors actually deepen overnight. For the prettiest presentation though, flip it just before serving so the caramel stays glossy and gorgeous.
How do I prevent the cake from sticking?
Generous buttering is your friend, plus letting the cake cool for exactly 10-15 minutes before flipping. Too soon and it falls apart; too long and the caramel hardens like cement. That sweet spot makes all the difference.
Feel free to experiment with spices too. A teaspoon of cinnamon or a pinch of cardamom in the batter adds warmth without overwhelming the apples. Some Toronto bakers even drizzle a bit of maple syrup over the caramel layer before adding the apples, a delicious local twist that plays up our fall flavors. The beauty of this recipe is how forgiving it is once you nail the basics.