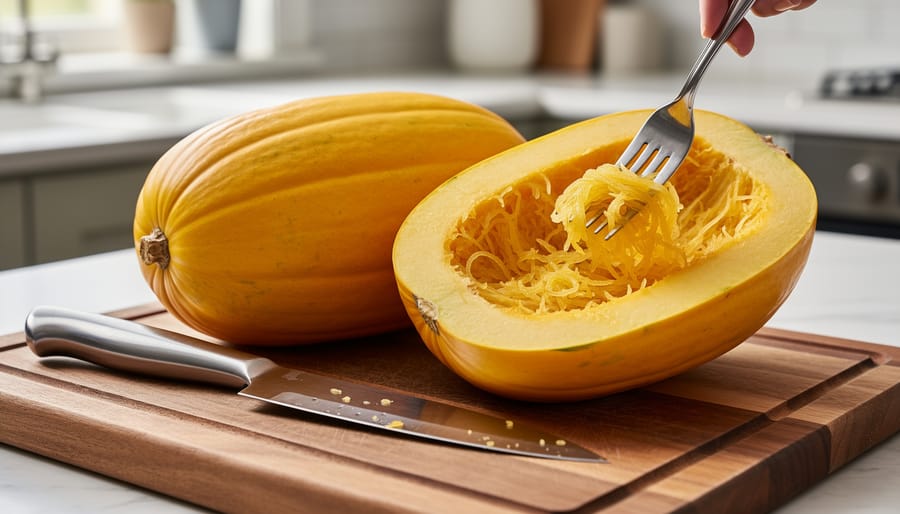
Cooking spaghetti squash transforms this humble winter vegetable into tender, golden strands that look like pasta but deliver that satisfying veggie-packed goodness. You have three reliable methods to choose from: roast it in the oven at 400°F for 30-40 minutes, microwave it for 3-4 minutes when you’re short on time, or pressure-cook it in an Instant Pot for just 7 minutes. Each method delivers perfectly cooked strands you can scrape out with a fork, and one medium squash gives you about 4 cups to work with.
If you’ve been staring at a spaghetti squash in your kitchen wondering how to crack that hard shell and what to do next, you’re in good company. This vegetable can look intimidating with its thick skin and oblong shape, but the cooking process is surprisingly straightforward once you know the basics. The oven method gives you the most control and develops deeper flavor through gentle roasting. The microwave saves you time on busy weeknights but requires careful timing to prevent a messy explosion. The Instant Pot splits the difference, giving you tender results without needing to watch the clock.
Whether you’re meal-prepping for the week ahead or looking for a lighter alternative to traditional pasta, getting the temperature and timing right makes all the difference between perfectly tender strands and mushy, waterlogged disappointment. Let’s walk through each method with the exact details you need to nail it on your first try.
What You’ll Need Before You Start
You’ll be happy to know that cooking spaghetti squash doesn’t require specialized equipment. Here’s what you need, most of which you probably already have in your kitchen:
For All Methods:
– One medium spaghetti squash (3-4 pounds)
– Sharp chef’s knife for cutting
– Fork for piercing, testing doneness, and shredding the strands
– Oven mitts or heat-safe gloves (this squash gets hot)
Additional Items by Method:
- Oven method: Rimmed baking sheet or large oven-safe dish
- Microwave method: Microwave-safe dish large enough to hold the squash
- Instant Pot method: Pressure cooker with trivet and 1 cup of water
When you’re shopping at St. Lawrence Market or your neighborhood grocery store, choosing the right squash makes a difference. Look for one that feels heavy for its size, that weight means it’s packed with flesh, not hollow and dry inside. The skin should be firm and unblemished, with a consistent pale yellow color. Avoid squash with soft spots, cracks, or green patches.
A medium squash in the 3-4 pound range yields about 4 cups of cooked strands, enough for several meals or generous servings for a family. If you’re planning to buy better produce organic spaghetti squash shows up at Toronto farmers’ markets from late summer through fall, though conventional options work perfectly well too.
Safety Tips and What Could Go Wrong
Before you start cooking, let’s cover a few safety basics that’ll save you from burns, cuts, and a messy kitchen disaster. Nothing here is complicated, but these precautions genuinely matter.
First, always pierce your spaghetti squash multiple times before cooking it, no matter which method you choose. Those little punctures release steam as the squash heats up. Skip this step and you’re basically creating a vegetable pressure bomb that can burst in your oven, microwave, or Instant Pot. Use a sharp knife or sturdy fork and make 8-10 deep pokes all around the squash.
When you’re handling the cooked squash, grab your oven mitts or heat-safe gloves. This thing comes out scorching hot from any cooking method, and the smooth skin makes it easy to drop if you’re not gripping it properly. Trust me, you don’t want a 3-pound squash rolling across your kitchen floor.
Cutting into a hot squash is asking for trouble. Let it cool for at least 10-15 minutes after cooking before you slice it open. The flesh will still be plenty warm for serving, but you’ll have much better control with your knife and won’t risk the squash slipping. When you do cut it open, angle the opening away from your face and hands because that first burst of steam can cause nasty burns.
Method 1: Oven-Roasted Spaghetti Squash
The oven method is my go-to when I want the best flavor and those slightly caramelized edges that make spaghetti squash irresistible. It takes a bit longer than the other methods, but you can oven-roast squash while you’re doing other things in the kitchen, making it perfect for weekend meal prep or when you’re already cooking dinner.
- Preheat your oven to 400°F while you prep the squash.
- Pierce the squash 8-10 times all over with a sharp knife or fork to let steam escape during cooking.
- Decide whether to roast it whole or halved. For halves, cut lengthwise, scoop out the seeds and stringy bits with a spoon, and place cut-side down on a baking sheet. For whole, just set it directly on the sheet.
- Slide the baking sheet into the oven and set a timer for 30 minutes.
- Check doneness at the 30-minute mark by piercing the skin with a fork. If it slides in easily and the flesh feels tender, you’re done. If there’s resistance, give it another 5-10 minutes.
- Remove from the oven and let it cool for 5 minutes before handling.
The beauty of this method is that the dry heat concentrates the natural sugars, giving you strands with a slightly sweet, nutty flavor you just don’t get from faster cooking methods. When roasted cut-side down, the flesh gets gorgeous golden spots where it touches the pan.
To test if it’s truly done, insert a fork into the thickest part of the flesh. It should glide through with almost no pressure. The strands should separate easily when you rake them with a fork, not clump together or feel crunchy. If you’re roasting it whole, wait until it’s cool enough to handle comfortably, then cut it open and scoop out the seeds before shredding.
This method works beautifully when you’re already using the oven for something else. Toss it in alongside a roast chicken or while baking, and you’ve got a ready-made side with zero extra effort.
Method 2: Quick Microwave Spaghetti Squash
When you’re juggling dinner prep on a Tuesday night, the microwave method is your best friend. This approach gets you fork-ready strands in under 10 minutes total, making it the fastest route to cooked spaghetti squash. It’s particularly popular among Toronto condo dwellers who want healthy meals without heating up their entire kitchen.
Here’s exactly how to do it:
- Pierce your whole squash 8-10 times all over with a sharp knife or sturdy fork, creating steam vents around the entire surface.
- Place the pierced squash in a microwave-safe dish (a pie plate or shallow bowl works perfectly).
- Microwave on high for 3-4 minutes. Do not exceed 4 minutes on your first attempt, seriously, this timing is critical for safety.
- Let the squash stand in the microwave for 5 minutes. It continues cooking during this rest period and becomes safe to handle.
- Carefully remove the hot squash using oven mitts, cut it in half lengthwise, and scoop out the seeds with a spoon.
- Use a fork to scrape and shred the flesh into strands, working from the outer edge toward the center.
The texture you’ll get from microwaving differs slightly from oven-roasted squash. Microwave strands tend to be softer and more moist, without the caramelized edges you’d develop in a 400°F oven. Some people prefer this tender texture for mixing into bowls or tossing with sauce, while others miss that roasted flavor depth. If your squash feels firm after the initial cook time, you can always add another 1-2 minutes, but go in 30-second intervals to avoid overcooking.
This method shines when you need spaghetti squash as a component rather than a standalone side, think meal prep for the week ahead or a quick base for leftover protein.
Method 3: Instant Pot Spaghetti Squash
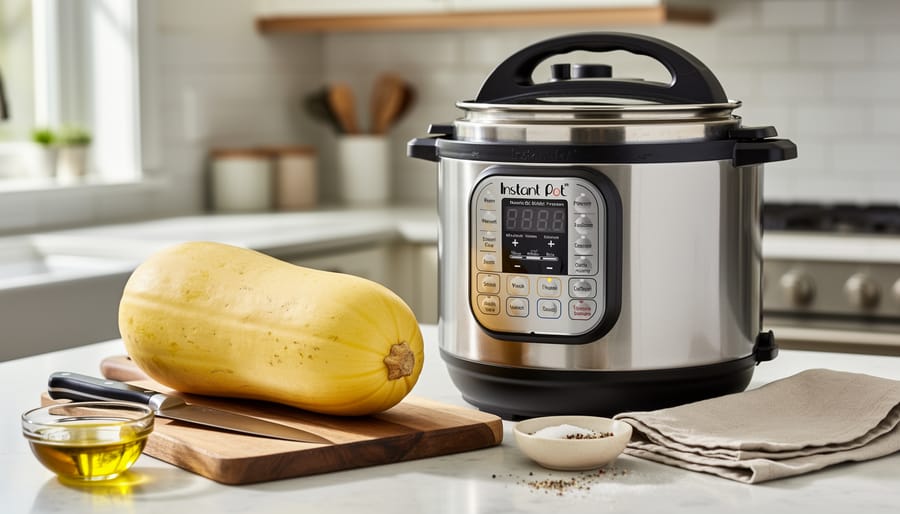
If you love the convenience of set-it-and-forget-it cooking, the Instant Pot method might become your go-to. Pressure cooking keeps the squash incredibly moist and tender without any of the hands-on monitoring you’d need with the oven. Plus, it’s genuinely hands-off once you seal the lid, which means you can prep the rest of dinner while it cooks. This method has taken off in Toronto kitchens for good reason, it delivers consistent results in under 10 minutes of actual cooking time.
- Pierce your whole spaghetti squash several times with a sharp knife or fork, making 8 to 10 punctures around the surface to allow steam to escape.
- Pour 1 cup of water into the Instant Pot insert and place the metal trivet inside.
- Set the whole pierced squash on top of the trivet, it’s fine if it touches the sides of the pot.
- Lock the lid in place, making sure the valve is set to the sealing position.
- Select high pressure and set the timer for 7 minutes.
- When the cooking cycle finishes, you can either let the pressure release naturally for 10 minutes or use a quick release by carefully turning the valve to venting.
- Once the float valve drops, open the lid and use tongs or oven mitts to transfer the squash to a cutting board.
- Let it cool for 5 minutes until you can handle it safely, then cut it in half lengthwise, scoop out the seeds, and use a fork to shred the flesh into strands.
The beauty of this method is how evenly the pressure cooks the squash from the inside out. You won’t get the caramelized edges you’d achieve in the oven, but the strands come out tender and ready to absorb whatever sauce or seasoning you’re planning. The texture stays firm enough to hold its shape without turning mushy, which makes it perfect for meal prep. If you’re cooking for the week ahead, this method lets you cook multiple squashes back-to-back without tying up your oven or standing over the microwave.
How to Tell When It’s Done (and What to Do Next)
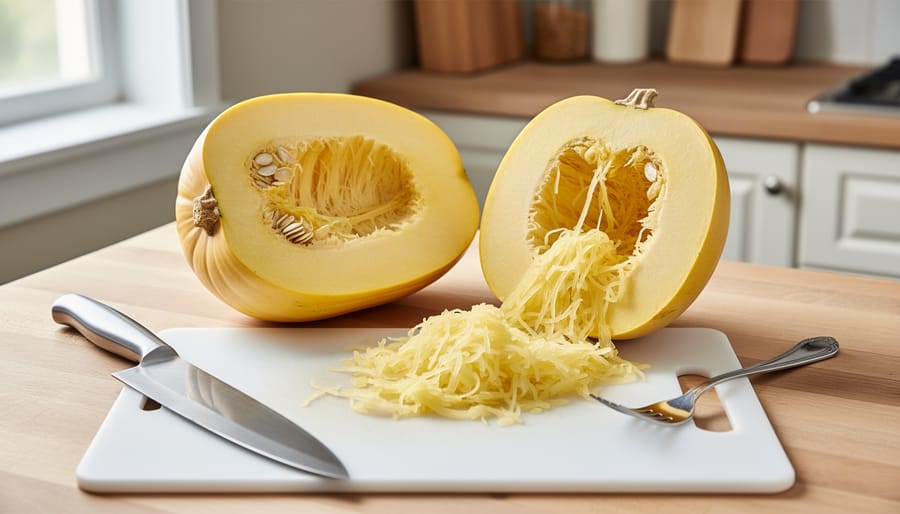
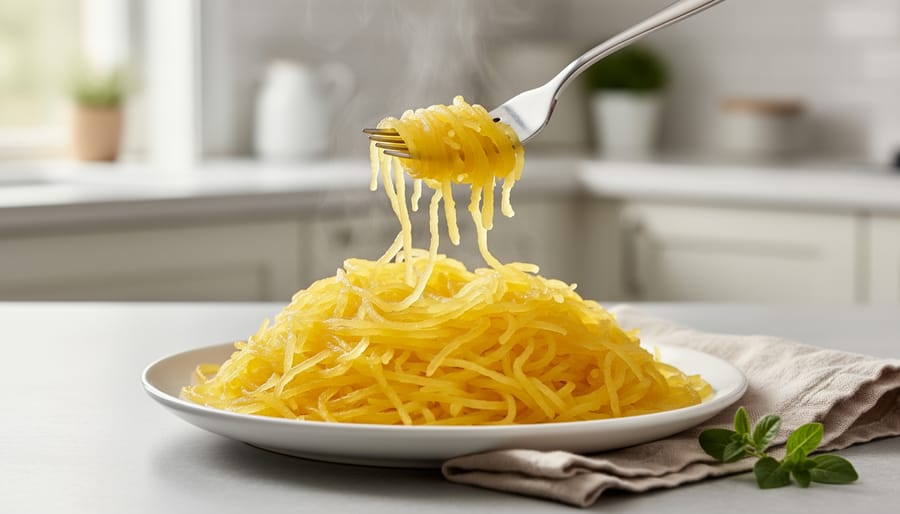
You’ll know your spaghetti squash is ready when a fork easily pierces the outer skin and slides into the flesh without resistance. The real test comes when you drag the fork lengthwise through the inside, the strands should separate cleanly and pull away from the skin in long, golden threads that look like angel hair pasta.
Perfectly cooked strands have a slight bite, similar to al dente pasta, and maintain their structure when you scoop them out. If you’re struggling to create strands or the flesh feels hard and dense, it needs more time. On the flip side, overcooked squash turns mushy and waterlogged, collapsing into a wet heap instead of holding those characteristic ribbons. When in doubt, check a few minutes early, you can always cook it longer, but you can’t undo mushiness.
Once your squash is done, let it cool for about five minutes before handling. Cut it open if you cooked it whole, then use a spoon to scoop out the seeds and stringy bits from the center, they’ll come out much easier now than they would have raw. Discard the seeds (or roast them separately if you’re feeling ambitious) and use a fork to shred the flesh, working from the outer edge toward the center in long strokes.
Here’s what to remember for doneness and storage:
- Fork pierces skin easily and strands separate cleanly when ready
- Undercooked flesh is hard and won’t shred; overcooked turns mushy
- One medium squash yields about 4 cups of cooked strands
- Refrigerate cooked strands for up to 5 days in an airtight container
- Freeze for up to 3 months in freezer bags with air pressed out
That 4-cup yield is perfect for meal prep, you can portion it out for multiple dinners throughout the week, just like you’d batch cook quinoa perfectly for grain bowls. The strands reheat beautifully in the microwave or a quick sauté pan toss, making weeknight meals almost effortless.
Serving Ideas That Work in Any Toronto Kitchen
Once you’ve got those tender strands ready, the simplest route is drizzling them with olive oil, minced garlic, and a handful of freshly grated Parmesan. Season with salt and pepper, and you’ve got a satisfying side that complements just about anything.
Spaghetti squash shines as a pasta substitute. Toss it with marinara, pesto, or even a creamy Alfredo sauce just like you would regular noodles. It holds up well under heavier toppings like roasted vegetables, grilled chicken, or crumbled sausage. You can also fold it into grain bowls alongside quinoa, roasted chickpeas, and tahini dressing, similar to what you’ll find at health-focused spots around Queen West and the Annex.
For a Toronto twist, pair your cooked strands with seasonal ingredients from St. Lawrence or Evergreen Brick Works farmers’ markets. In fall, try mixing in roasted butternut squash and sage. Come spring, toss with asparagus, lemon zest, and ricotta. If you’re experimenting with other veggie-based dishes, this cauliflower pasta idea offers another simple, one-pan approach that fits the same weeknight cooking style.
Keep portions practical since one medium squash yields 4 cups of strands. That’s enough for several meals, making it easy to prep once and eat throughout the week.
Your Spaghetti Squash Questions Answered
Can I cook spaghetti squash without cutting it first?
Yes, all three methods work with a whole squash. Just pierce it several times with a fork or knife to let steam escape, then cook it using your preferred method. You’ll cut it open after cooking when it’s easier to handle.
Should I remove the seeds before or after cooking?
After cooking is much easier and safer. The heat softens everything, making the seeds simple to scoop out with a spoon. Trying to wrestle with a raw squash and seeds is harder on your hands and your knife.
How do I know what size squash to buy?
Look for a medium squash weighing 3-4 pounds. That size gives you about 4 cups of cooked strands, which is perfect for meal prepping or feeding a couple of people with leftovers for lunch the next day.
Why did my strands turn out mushy?
You cooked it too long. Next time, shave off 5-10 minutes from whatever method you used and check for doneness earlier. The strands should have a slight bite, not fall apart into mush.
Can I prep spaghetti squash ahead of time?
Absolutely. Cooked strands keep in the fridge for up to 5 days in an airtight container, and they freeze well for up to 3 months. This makes Sunday meal prep a breeze for busy Toronto weeknights.
If you’re new to cooking spaghetti squash, these questions probably crossed your mind while reading the methods. The whole-squash approach saves you from dangerous cutting, and knowing the 4-cup yield helps with planning portions whether you’re cooking for one or prepping multiple meals. The mushiness issue is the most common mistake, so if it happens, don’t give up. Just dial back the time and try again.
You’ve got three solid methods for cooking spaghetti squash, and honestly, there’s no wrong choice. Whether you’ve got 40 minutes to let the oven work its magic at 400°F, need dinner in under 4 minutes with the microwave, or want to set it and forget it for 7 minutes in your Instant Pot, you’ll end up with those perfect pasta-like strands. Pick the method that fits your Tuesday night or your lazy Sunday afternoon.
The best part? This isn’t complicated cooking that requires special skills or hard-to-find ingredients. It’s the kind of accessible, healthy technique that works in any Toronto kitchen, from downtown condos to family homes in the suburbs. Once you’ve nailed your preferred method, you’ve unlocked a versatile base for countless meals.
Ready to keep experimenting? Our Food Recipes and DIY section has plenty more techniques and ideas to explore. Your kitchen, your schedule, your way.