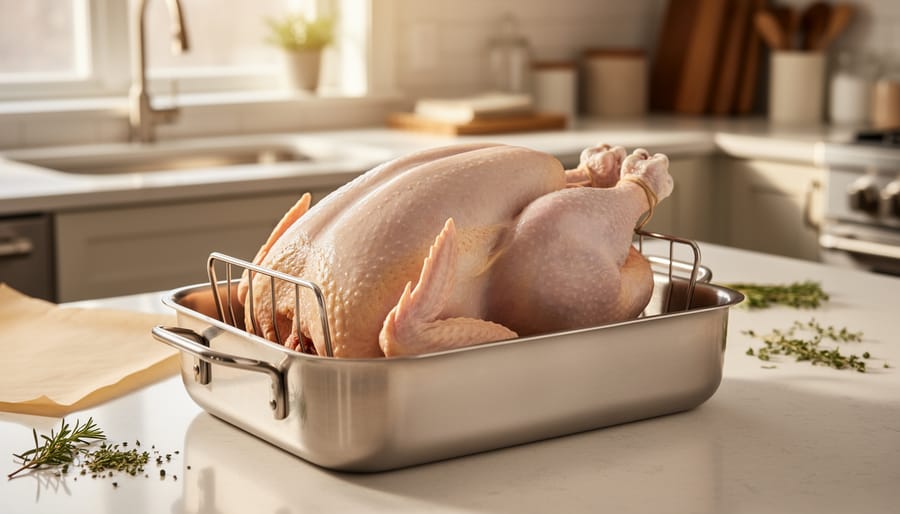
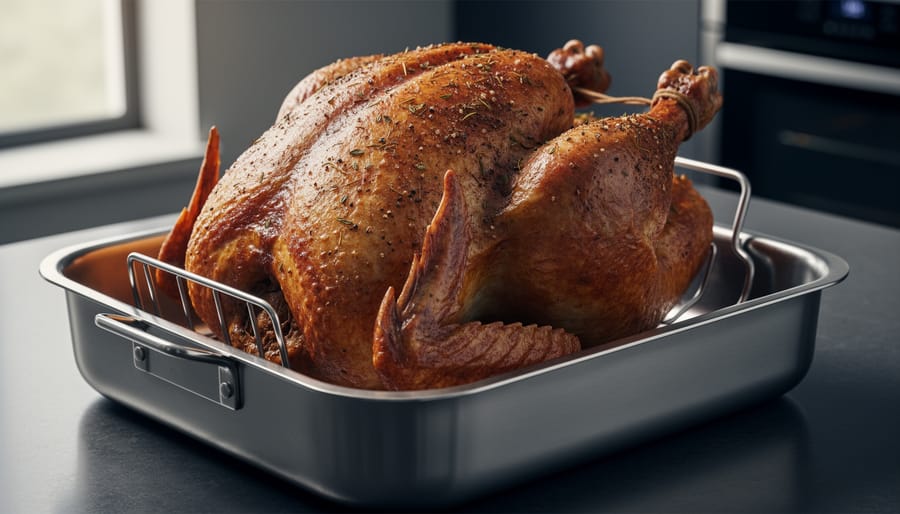
Roasting a turkey in the oven takes between 2 to 7.5 hours at 350°F, depending on the bird’s size and whether you stuff it. For an unstuffed 14-pound turkey, you’re looking at roughly 3.5 to 4 hours until the internal temperature hits 170°F in the thickest part of the thigh. That’s your golden rule: temperature, not color or timing alone, tells you when dinner is ready.
The process itself is straightforward. You’ll prep the bird, slide it into a preheated oven, and check doneness with a meat thermometer. But getting there without a dry, disappointing centerpiece means understanding a few key moves: how to position the turkey, when to tent it with foil, and why resting time after roasting matters just as much as what happens inside the oven.
Whether you’re hosting your first holiday feast or just want to nail the basics this year, this guide walks you through every step with clear timing benchmarks, safety checks, and troubleshooting tips. No guesswork, no stress. By the end, you’ll have a juicy, golden turkey that actually tastes as good as it looks, and the confidence to pull it off again next time.
What You’ll Need to Roast the Perfect Turkey
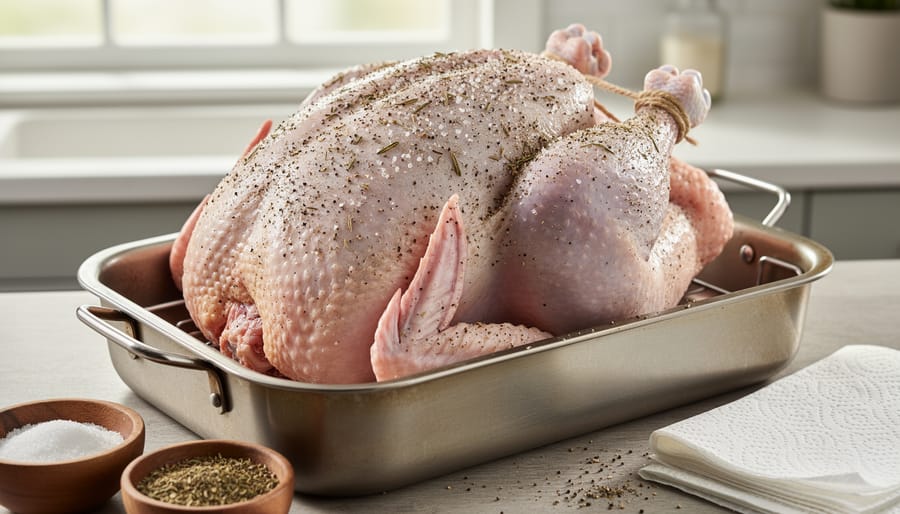
You probably have most of what you need already tucked away in your kitchen. Roasting a turkey doesn’t require fancy equipment, just a few reliable basics and some smart planning before you head out to buy better produce and pick up your bird.
- Roasting pan with a rack, elevates the turkey for even heat circulation and prevents the bottom from steaming in drippings
- Meat thermometer, preferably digital, the only foolproof way to know your turkey is safely cooked without guessing
- Aluminum foil, shields the skin if it browns too quickly and helps tent the bird while it rests
- Kitchen twine for trussing (optional), keeps the legs and wings tucked close for more even cooking
- Basting brush or large spoon, if you choose to baste, though it’s not essential
- Heavy-duty oven mitts, you’ll be moving a hot, heavy pan, so protect your hands
As for ingredients, start with your turkey, fresh or fully thawed. You’ll want butter or oil for rubbing the skin, plus salt and pepper at minimum. Optional aromatics like fresh herbs, garlic cloves, halved onions, or citrus wedges add fragrance and flavor when tucked into the cavity or scattered in the pan. These simple additions turn a basic roast into something that smells incredible and tastes even better.
Important Safety Tips Before You Start
Before you slide that beautiful bird into the oven, let’s cover a few safety essentials that’ll keep your holiday stress-free and your guests healthy. Think of these as your kitchen guardrails, not a list of scary warnings.
First up: thawing. Never leave a frozen turkey out on the counter to defrost. Room temperature is a playground for bacteria. Instead, plan ahead and thaw it in the fridge, allowing about 24 hours for every four to five pounds. Short on time? Submerge the wrapped bird in cold water, changing the water every 30 minutes. It takes longer than you’d think, but it’s safe.
Once your turkey is thawed, treat it like the raw poultry it is. Wash your hands thoroughly before and after handling, keep it away from ready-to-eat foods, and sanitize any surfaces or utensils that touch the raw bird. Cross-contamination is sneaky, so stay mindful.
These temperatures aren’t suggestions. They’re the line between perfectly cooked and potentially risky. Stick the thermometer into the thickest part of the thigh without touching bone for the most accurate read.
Finally, resist the urge to carve immediately. Let your turkey rest for 20 to 30 minutes after it comes out of the oven. This isn’t just for juiciness, it also allows the internal temperature to stabilize, ensuring everything is safe to eat. Your patience will be rewarded with tender, flavorful meat.
Step-by-Step: Roasting Your Turkey to Juicy Perfection
How Long to Roast Your Turkey (By Weight)
Timing matters, but there’s no need to stress over it. Here’s your cheat sheet for roasting a turkey at 350°F, broken down by weight. These numbers will help you calculate turkey time with confidence.
For an 8-10 lb turkey, plan on 2 to 2.5 hours unstuffed, or 2 hours 40 minutes to 3.5 hours stuffed.
For 11-13 lbs, expect 2 hours 45 minutes to 3 hours 15 minutes unstuffed, or 3 hours 40 minutes to 4 hours 20 minutes stuffed.
A 14-16 lb bird needs 3.5 to 4 hours unstuffed, or 4 hours 40 minutes to 5 hours 20 minutes stuffed.
For 17-19 lbs, allow 4 hours 15 minutes to 4 hours 45 minutes unstuffed, or 5 hours 40 minutes to 6 hours 20 minutes stuffed.
A 20-22 lb turkey takes 5 to 5.5 hours unstuffed, or 6 hours 40 minutes to 7 hours 20 minutes stuffed.
Keep in mind these are starting points, not finish lines. Your thermometer has the final say. Check out our guide to unstuffed cooking times for more detail on timing without the cavity stuffing.
How to Tell When Your Turkey Is Done (and What to Do Next)
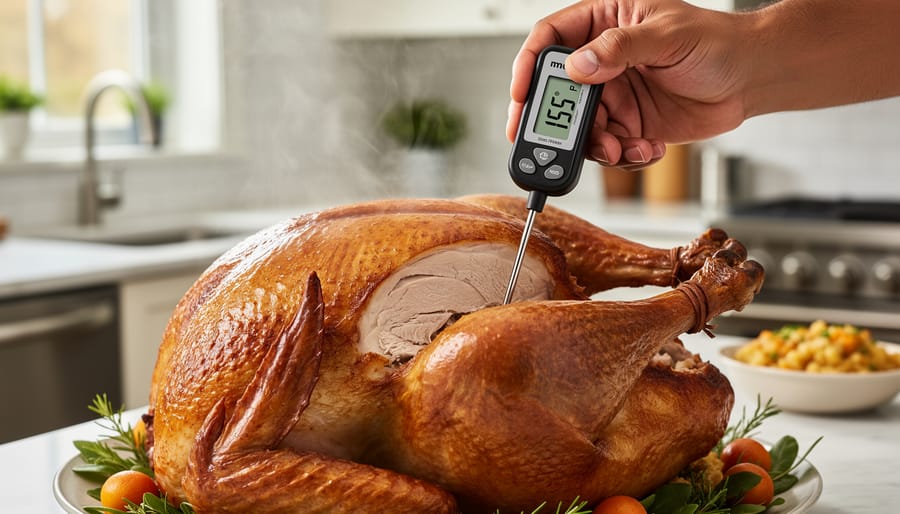
The most reliable way to know your turkey is ready is to check the internal temperature with a meat thermometer. Insert it into the thickest part of the thigh, making sure it doesn’t touch the bone, which can throw off the reading. You’re looking for 170°F for an unstuffed bird or 180°F for a stuffed one. If you’ve tucked stuffing inside the cavity, that needs to hit 165°F too.
Beyond the numbers, a properly cooked turkey has a few visual and tactile clues. The skin should be golden and taut, the juices running clear when you pierce the thigh, and the meat should feel firm but still give a little when pressed. If the drumstick wiggles easily at the joint, that’s another good sign.
Once your turkey hits the right temp, resist the urge to carve immediately. Transfer it to a cutting board, tent it loosely with aluminum foil, and let it rest for 20 to 30 minutes. This resting period allows the juices to redistribute throughout the meat, so every slice stays moist and flavorful instead of spilling out onto the board. As a bonus, a rested turkey is easier and safer to carve because the meat firms up slightly and you’re not wrestling with scalding-hot poultry. Your patience here pays off in tender, juicy results that’ll make your Toronto table shine.
Pro Tips for a Show-Stopping Bird
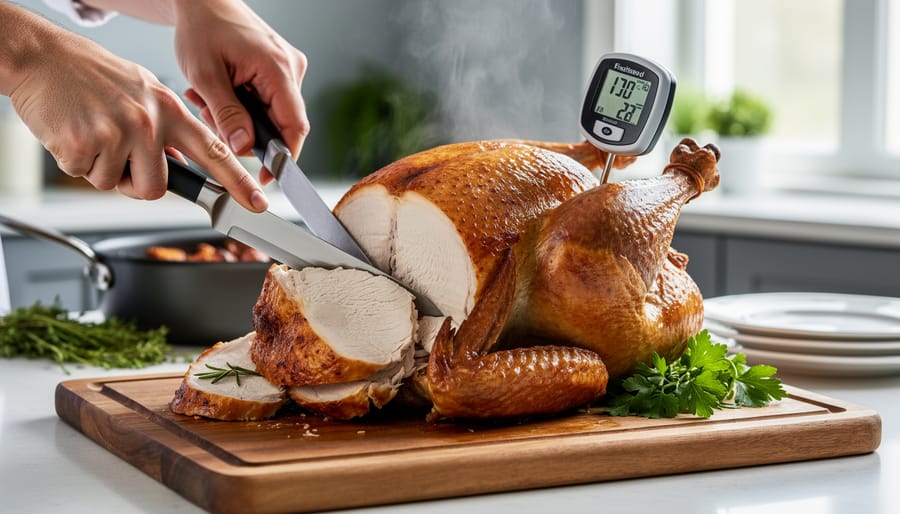
Want to take your turkey from good to unforgettable? These insider tricks will help you deliver a bird that looks gorgeous and tastes even better.
Start with brining or dry-brining a day or two ahead. A wet brine (salt dissolved in water with optional sugar and aromatics) adds moisture and seasoning deep into the meat, while a dry brine (rubbing salt directly on the skin and inside the cavity) seasons thoroughly and crisps the skin beautifully. Both methods work wonders.
Try compound butter under the skin. Gently loosen the skin over the breast and thighs, then slide softened butter mixed with herbs, garlic, or citrus zest underneath. As the turkey roasts, that flavored butter bastes the meat from within, keeping it juicy and adding richness you can taste in every bite.
Toss aromatic vegetables like onions, carrots, celery, and garlic into the bottom of your roasting pan. They infuse the drippings with deep flavor, creating a head start for incredible gravy, and they make your kitchen smell amazing. If the skin starts browning too quickly, tent the turkey loosely with foil and keep roasting.
Here’s where Toronto’s food diversity shines:
- Rub za’atar and sumac into the butter for a Middle Eastern twist
- Mix fresh ginger, soy sauce, and sesame oil for an East Asian profile
- Use smoked paprika and cumin for a hint of Latin warmth
- Tuck orange or lemon slices into the cavity for bright, citrusy notes
Don’t toss those pan drippings. Pour them into a fat separator, skim off excess fat, and use the flavorful liquid as the base for silky gravy. Pair your bird with roasted sides ideas that complement your chosen flavor profile, and you’ll have a feast worth celebrating.
Common Turkey Troubleshooting (And How to Fix It)
Even the best-laid plans go sideways sometimes, and turkey roasting is no exception. Here’s how to rescue your bird when things don’t go quite as planned.
Skin browning too fast? Grab your aluminum foil and make a loose tent over the breast. This slows down the browning while the rest of the turkey catches up. You can remove it for the last 30 minutes if you want that gorgeous golden finish.
Breast cooked but thigh still reading low? This happens more often than you’d think. Cover just the breast area with foil to shield it from more heat, then keep roasting until the thigh hits 170°F. The white meat will stay warm while the dark meat finishes.
Forgot to thaw your turkey? Deep breath. Skip the microwave entirely and submerge the wrapped bird in cold water, changing the water every 30 minutes. It takes about 30 minutes per pound, which is still faster than panicking. Never try to roast a frozen turkey.
Turkey came out dry? It happens. For next year, consider brining or basting more frequently. Right now, though, make a rich, flavorful gravy from the drippings and serve it generously. A good gravy covers a multitude of sins, and honestly, your guests are there for the company more than perfection. Slice against the grain, add some sauce, and enjoy the meal you worked hard to create.
Frequently Asked Questions
Should you stuff the turkey or cook the dressing on the side? That’s probably the most common debate at holiday tables across Toronto. Cooking stuffing separately is safer and more foolproof, it reaches 165°F faster, cooks evenly, and you don’t have to worry about undercooked pockets inside the bird. That said, cavity stuffing is a beloved tradition for many families, and it absolutely works if you’re diligent about checking that internal temperature of 165°F with your thermometer. Just know that a stuffed turkey takes longer to roast, so plan accordingly.
Can I cook a frozen turkey without thawing it first?
Not recommended. A frozen turkey won’t cook evenly, and you risk a raw interior even when the outside looks done. Always thaw your bird in the fridge or using the cold water method before roasting.
Do I really need to baste my turkey?
Basting is optional. It adds a beautiful golden color and can layer on flavor, but it’s not essential for keeping the meat moist, proper roasting temperature and a good thermometer do that job better.
How should I store leftover turkey?
Refrigerate leftovers within two hours of cooking. Use them within three to four days, or freeze for longer storage. Proper cooling and storage keep your turkey safe and delicious for post-feast sandwiches and soups.
Another question that pops up: what if my oven runs hot or cold? Oven thermometers are inexpensive and worth it, they let you confirm your actual temperature so you’re not guessing. And remember, all those cooking times by weight are estimates. Your meat thermometer reading 170°F for an unstuffed bird or 180°F for a stuffed one is the real finish line, not the clock.
There you have it: roasting a turkey in the oven isn’t a mystery once you know the basics. Preheat to 350°F, use your thermometer as your guide, and trust the process. The numbers and steps are straightforward, but what really matters is the warmth you bring to the table.
Your Toronto kitchen will smell incredible. Your family and friends will gather around a bird you made with your own hands. And if the skin isn’t perfectly golden or the breast is a touch dry? Nobody will remember. They’ll remember the laughter, the stories, and the fact that you showed up and cooked with care.
Food is never about perfection. It’s about connection, sharing, and the moments we create together. So take a breath, fire up that oven, and enjoy every minute of it. You’ve got this, and your turkey is going to be delicious.