
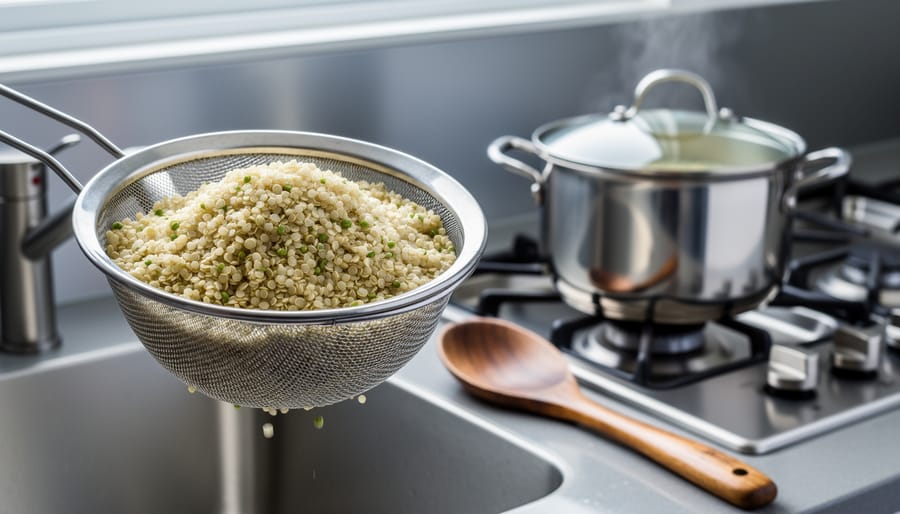
The perfect quinoa cooking ratio is 1:2, one part quinoa to two parts liquid. This straightforward formula delivers fluffy, tender grains every single time, whether you’re meal-prepping for the week or whipping up a quick weeknight dinner. While some recipes suggest 1:1.5 or even 1:3, the 1:2 ratio strikes the ideal balance, giving you properly cooked quinoa that’s neither mushy nor crunchy.
Getting quinoa right matters more than you might think. This ancient grain has earned its spot in Toronto kitchens from Queen West lofts to Scarborough family homes, thanks to its complete protein profile and versatility. But here’s the catch: if your ratio’s off, you’ll end up with either a soggy mess or bitter, undercooked seeds that crunch between your teeth.
The beauty of quinoa lies in its simplicity. You don’t need fancy equipment or complicated techniques. A standard pot, fifteen minutes of cooking time, and five minutes of resting deliver restaurant-quality results. Once you nail the basic ratio, you can adapt it endlessly, swapping water for broth, adding aromatics, or mixing in seasonal vegetables from your favorite farmers’ market haul. This guide walks you through everything you need to master quinoa cooking.
What You’ll Need to Cook Quinoa Perfectly
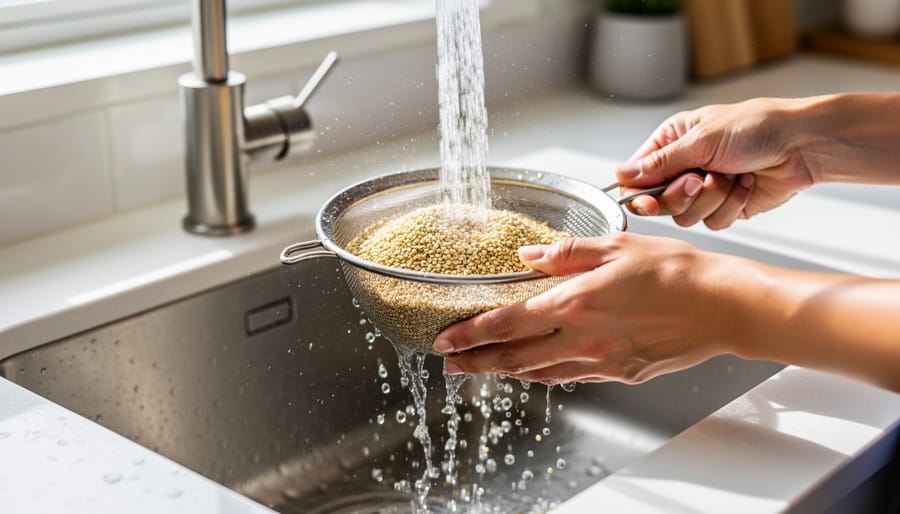
Cooking quinoa doesn’t require fancy equipment or a stocked pantry. You probably already have everything you need sitting in your kitchen right now. Here’s what you’ll need to get started:
- A medium saucepan with a tight-fitting lid (2-quart size works perfectly for most batches)
- Fine-mesh strainer for rinsing
- Measuring cups for accurate quinoa-to-water proportions
- 1 cup quinoa (white, red, or black)
- 2 cups water or broth
- Fork for fluffing
The fine-mesh strainer deserves special attention. Rinsing quinoa isn’t optional if you want good results. Those tiny seeds come coated in saponins, a natural bitter compound that protects the plant in the wild but tastes soapy and unpleasant on your plate. A quick 30-second rinse under cold water removes this coating completely. You’ll notice the water runs clear when you’re done.
Beyond the basics, consider a few optional additions that boost flavor without complicating the process. A pinch of salt enhances the nutty taste. A teaspoon of olive oil adds richness and helps keep the grains from sticking. Some Toronto home cooks like tossing in a bay leaf, garlic clove, or sprig of thyme while the quinoa simmers. These aromatics infuse subtle flavor that makes quinoa shine as a side dish or mixed into heartier meals.
Keep it simple your first time through, then experiment once you’ve nailed the basic technique.
Understanding the Quinoa to Water Ratio
The 1:2 quinoa cooking ratio, one part quinoa to two parts liquid, is your foundation for perfectly cooked grains. This ratio works because quinoa absorbs roughly twice its volume in water while cooking, allowing the grains to fully hydrate and unfurl that characteristic little tail (the germ) without turning mushy. When you nail this ratio, you get fluffy, separate grains with a pleasant, slightly chewy texture that holds its shape in everything from grain bowls to pasta dishes.
Here’s where it gets interesting: you can tweak the ratio slightly based on how you’re using your quinoa. If you’re prepping quinoa for cold salads or grain bowls where you want each grain to stand on its own, try a 1:1.75 ratio. The slightly drier cooking environment produces firmer grains that won’t clump together once chilled. On the flip side, if you’re making a breakfast porridge or mixing quinoa into a creamy soup, use a 1:2.25 ratio for a softer, more tender result.
The most common mistake? Eyeballing the water. Too much liquid creates a gummy, overcooked mess that falls apart in your meal prep containers. Too little leaves you with crunchy, undercooked centers and wasted quinoa. Always measure both the quinoa and liquid using the same measuring cup to keep the ratio accurate.
For Toronto meal preppers and busy home cooks, the standard 1:2 ratio is ideal for batch cooking. It produces quinoa that reheats beautifully, keeps its texture when mixed into single-pan pasta dishes, and absorbs dressings and sauces without losing its structure throughout the week.
Important Tips Before You Start
Before you get started, a few key tips will save you from common quinoa mishaps and ensure perfect results every time.
Rinsing removes saponins, the natural coating that gives unrinsed quinoa an unpleasant soapy or bitter taste. Even pre-washed quinoa benefits from a quick rinse. Use a fine-mesh strainer since quinoa grains are tiny and will slip through regular colanders.
Once your quinoa finishes cooking, resist the urge to dig in immediately. Let it rest off the heat for five minutes with the lid on. This resting period allows the grains to firm up and become fluffy rather than musty or clumpy. Think of it like resting a steak.
For Toronto cooks, altitude is rarely a concern since we’re essentially at sea level, but the principle still applies: if you’re cooking at higher elevations elsewhere, you may need a few extra minutes of cooking time.
Storage matters too. Cooked quinoa keeps well in an airtight container in the fridge for five to seven days, making it perfect for meal prep. Cool it completely before refrigerating to prevent condensation and sogginess.
Step-by-Step: How to Cook Quinoa on the Stovetop
Here’s the perfect stovetop method that delivers fluffy quinoa every time. You don’t need fancy equipment or culinary school training, just follow these steps and you’ll nail the quinoa cooking ratio.
- Rinse your quinoa in a fine-mesh strainer under cold running water for 30-45 seconds. Swirl it around with your hand while the water runs through. This removes the bitter saponin coating and makes a noticeable difference in flavor. You’ll see the water run cloudy at first, then clear.
- Pour the rinsed quinoa into your medium saucepan. Add your liquid at the 1:2 ratio, that’s 1 cup quinoa to 2 cups water or broth. If you’re using salt, add about 1/4 teaspoon per cup of quinoa. Give it a quick stir to distribute everything evenly.
- Turn the heat to medium-high and bring the mixture to a rolling boil. This usually takes 3-4 minutes. You’ll see bubbles breaking the surface across the entire pan.
- The moment it reaches a full boil, reduce the heat to low and cover the saucepan with a tight-fitting lid. This is where the quinoa cooking ratio really works its magic, the sealed environment traps steam and cooks the grains evenly.
- Set a timer for 15 minutes and resist the urge to peek. Lifting the lid releases steam and throws off the moisture balance. Just let it do its thing.
- When the timer goes off, remove the pan from heat but keep it covered. Let it rest for 5 minutes. This resting period allows the grains to firm up and become perfectly fluffy rather than mushy.
- Remove the lid and fluff the quinoa gently with a fork, working from the edges toward the center. You should see those distinctive little spirals separated from each grain.
The whole process takes about 25 minutes start to finish. Your quinoa’s ready to use immediately in salads, grain bowls, or stirred into that single-pan cauliflower pasta you’ve been planning.
How to Tell When Your Quinoa Is Done (and What to Do Next)
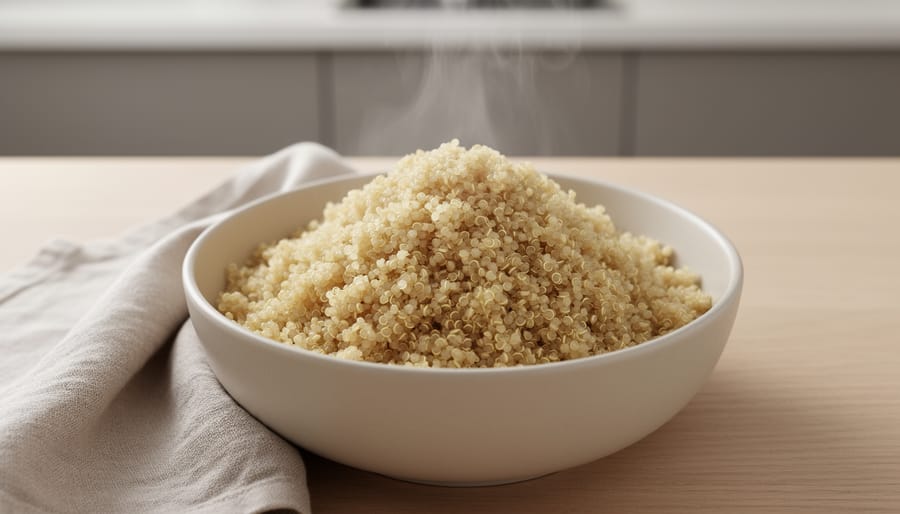
The moment you’ve been following the quinoa cooking ratio is here: how do you know it’s actually done? Look for the telltale white spiral germ separating from each seed, creating tiny curly tails around the grains. The quinoa should appear translucent rather than opaque, and all the liquid in your pan should be fully absorbed with no pooling at the bottom.
Here’s what perfectly cooked quinoa looks like:
- White spiral germ (the “tail”) visibly separated from the seed
- Grains appear translucent or slightly see-through
- All liquid completely absorbed with a dry pan bottom
- Texture is tender but still has a slight bite, not mushy
Give it a taste test. The texture should be tender with a pleasant, slight chewiness, never crunchy or pasty. If your quinoa turned out mushy, you likely used too much water or overcooked it; next time, stick closer to the 1:2 ratio and watch your timer. Crunchy quinoa just needs more time, add a splash of water, cover, and simmer another 3-5 minutes. Bitter quinoa? That’s the saponin coating talking, which means you skipped the rinse. Learn from it and rinse thoroughly next time.
Once it’s perfect, you’ve got options. Use it immediately in recipes, let it cool and refrigerate in an airtight container for 5-7 days, or freeze portions for up to three months. To reheat, add a tablespoon of water and microwave covered, or warm gently on the stovetop with a drizzle of olive oil.
Using Quinoa in Your Single-Pan Cauliflower Pasta
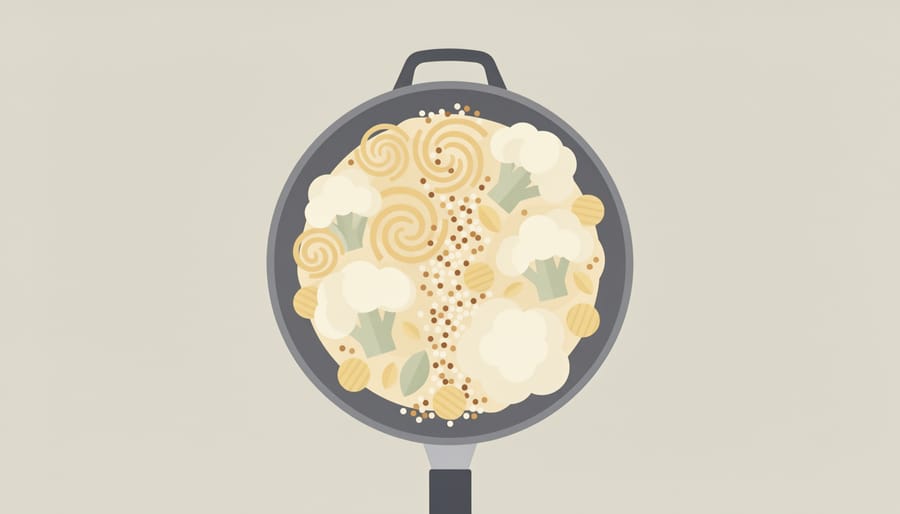
Now that you’ve nailed the quinoa cooking ratio, let’s put those perfectly fluffy grains to work in a single-pan cauliflower pasta that’s become a weeknight favorite across Toronto kitchens.
Cook your quinoa separately using the standard 1:2 ratio while your pasta dish comes together. Once both are ready, fold the warm quinoa directly into the finished cauliflower pasta, stirring gently so every spoonful gets that satisfying mix of tender pasta, roasted cauliflower, and nutty quinoa. The quinoa soaks up whatever sauce you’re working with, whether that’s a garlicky olive oil base, creamy cashew sauce, or tangy tomato blend, adding little bursts of flavor and a pleasant chew that makes the dish feel more substantial.
This combination hits the sweet spot for plant-based eating without feeling like you’re missing anything. Quinoa brings about 8 grams of protein per cooked cup, which balances beautifully with the fiber-rich cauliflower and gives the whole plate serious staying power. Plus, the contrasting textures keep things interesting.
Start with about half a cup of cooked quinoa per serving and adjust from there. White quinoa works if you want it subtle, but red or black varieties add a pop of color that looks gorgeous on the plate. The whole thing comes together in one pan, which means less cleanup and more time enjoying your meal.
Common Questions About Cooking Quinoa
Can I cook quinoa in a rice cooker?
Absolutely. Use the same 1:2 quinoa cooking ratio you’d use on the stovetop, rinse your quinoa first, and select the white rice setting. Most rice cookers will automatically switch to warm when the quinoa is done, making it foolproof for busy Toronto kitchens.
Does the color of quinoa change the cooking ratio?
Nope. White, red, and black quinoa all cook perfectly with the standard 1:2 ratio. The main difference is texture: red and black varieties stay slightly firmer and hold their shape better in salads, while white quinoa is a bit fluffier.
Can I use broth instead of water?
You bet. Swapping water for vegetable, chicken, or mushroom broth adds tremendous flavor without changing the ratio at all. This works especially well when you’re planning to serve quinoa as a side dish or mix it into grain bowls.
How do I prevent mushy quinoa?
Stick religiously to the 1:2 ratio, avoid lifting the lid during cooking, and don’t skip the five-minute rest at the end. If you’re still getting mush, you might be using too much liquid or cooking it too long, quinoa only needs 15 minutes of simmer time.
Can I freeze cooked quinoa?
Yep, cooked quinoa freezes beautifully for up to three months. Let it cool completely, portion it into freezer bags or containers, and thaw overnight in the fridge when you need it. It reheats perfectly on the stovetop or in the microwave with a splash of water.
These questions pop up constantly, and honestly, they’re all easier to solve than you might think. Once you nail the basic quinoa cooking ratio and understand these simple workarounds, you’ll find yourself reaching for quinoa way more often. It’s one of those ingredients that rewards consistency, same ratio, same technique, reliably great results every time.
Now you’ve got the 1:2 quinoa cooking ratio down, and honestly, that’s all you need. This simple technique turns quinoa into one of the most versatile ingredients in your kitchen, mix it into breakfast bowls, toss it with roasted Toronto farmers’ market vegetables, or fold it into that single-pan cauliflower pasta for an easy weeknight upgrade. The beauty is in how forgiving it is once you nail the basics. So grab some Ontario-grown greens, whatever’s in season at your local market, and start experimenting. You’ve got this, and your quinoa will turn out perfectly fluffy every single time.